
Refashioners 2016: DIY Maternity Jeans

The Refashioners challenge is in full swing over at The Makery, and I thought I'd use the opportunity to make myself a pair of maternity jeans that actually fit.
I bought a pair of Paige maternity jeans a few months ago thinking they would last my entire pregnancy. Ha. Ah ha ha ha. Oh Jacqui, so naive. The stiff elastic strips sewn in place of pockets are a total joke. And the waistband now digs into my belly, creating quite the muffin top. It's uncomfortable, and unflattering, and I'm a little mad at myself for getting talked into fancy maternity jeans in the first place. No big deal though – at least it inspired me to create something on my own!
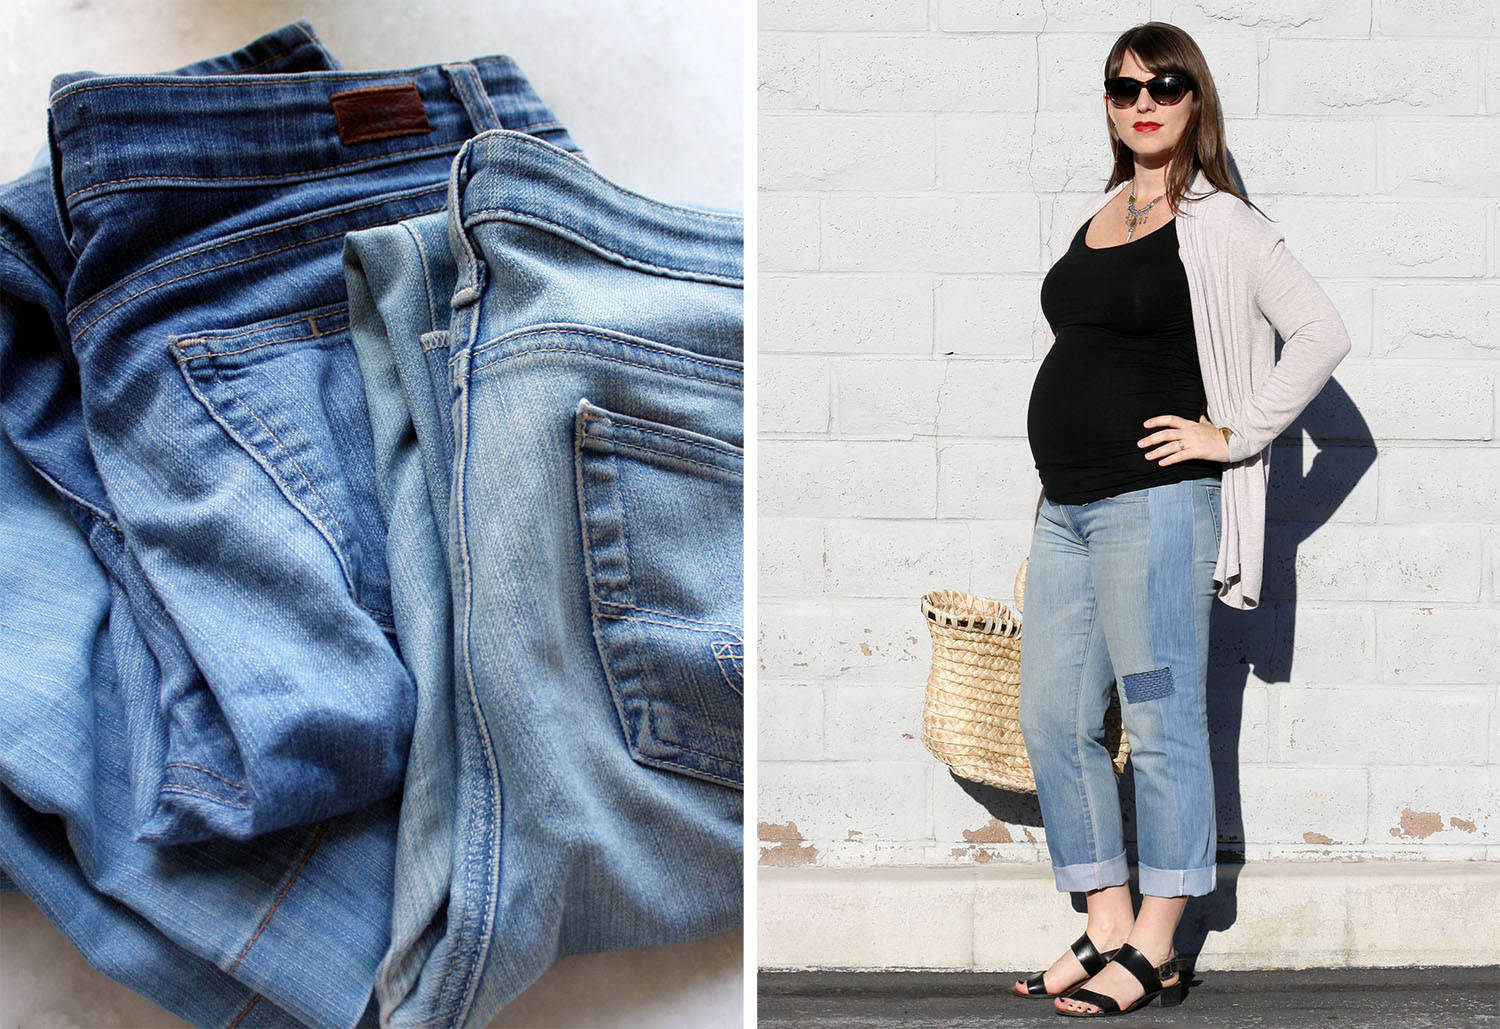
I started with an old pair of Adriano Goldschmied jeans that I rarely wear. I knew I needed the waistband to fit under my belly, so I removed it and trimmed the top of the jeans by about an inch and a half:

After adding in side panels (see below), I reattached the waistband and added an extra strip that I took from another pair of worn-out jeans. I added elastic to this piece so that the waist can grow with me into the third trimester. Initially I considered attaching a jersey panel like you see on most below-the-belly maternity styles. But because most of my maternity shirts are nice and long, adding extra fabric to the jeans just felt redundant.

Now on to the legs. It's cute to think that the only part of you that gets bigger with pregnancy is your belly. But for many women, including yours truly, pretty much everything expands. There was no way these size 29 jeans were going to fit over my healthy butt and thighs, so I opened up the side seams and added in an extra panel cut from another pair of old jeans. I really like the slight contrast between the two washes, and resulting cut is less skinny, more boyfriend.


Finally, I added in a couple of decorative patches using Shashiko stitching. Shashiko is a Japanese style of functional embroidery traditionally used to reinforce points of wear or to mend holes, and it's all over the place right now. While I didn't actually need to apply these patches, I thought the jeans could use a little flair, and I wanted to try my hand at a new technique.
And that's it! They fit great, they're pretty darn cute, and they didn't cost me a penny.


The Great Closet Overhaul: Part One
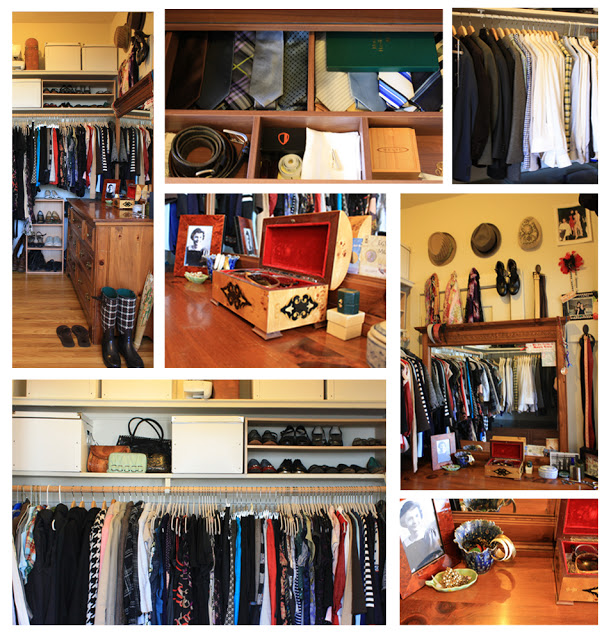
Just for a bit of context, here's what the ol' closet looked like before:

Ok, so I probably shot it at its most pitiful. Still, the lack of hanger space, drawers, and streamlined storage made it hard to find a damn thing in there. Which lead me to whine "I hate all of my cloooooothes!" consistently enough to convince my finance to help me reorganize. And oh, did we.
I don't feel that a full on narrative is necessary here (let's just say it involved a lot of sneezing, toe-stubbing, and screams of "f--king IKEA and your shitty f--king instructions!"). However, I can offer a few words of advice:
1. If you don't have enough drawers, buy a dresser or two. There are only so many things you can hang, and folding your clothes and stacking on shelving only leads to it falling off/ looking messy.
2. Invest in uniform storage containers. I know it sounds anal retentive, but the consistency of all-white boxes (or all pink, or all polka-dot, or whatever strikes your fancy) creates important visual cues. In other words, when you're looking for something to wear, your eyes aren't drawn to all the oddly-shaped moving boxes/ milk crates/ Trader Joe's bags full of old clothes and can instead focus on what's actually hanging in front of you. Trust me, it helps.
3. Invest in slimline hangers, preferably felt-lined. Not only will they maximize your hanging space, they're also just prettier. Which makes your clothes look prettier. And your clothes deserve to feel pretty.
4. Before deciding what to keep and what to get rid of, wash, iron, and hang up everything you own. I know it's a lot of work, but I ended up keeping a lot of items I hadn't worn in years simply because I hadn't taken the time to revitalize them or try them on again. Every item is worth a second look, and there are always ways to restyle the old stuff.
5. Once you have decided what to get rid of, decide how you want to get rid of it. Is it worth trying to resell? Is it something you want to keep for a clothing swap? Or does it go straight to the Goodwill? Also, this is where the laundry part I mentioned above comes in -- it's always classier to give away clean clothes.
Thankfully, the hard part is done. Now on to the fun stuff -- restyling, altering, embellishing, trading, and making some well thought-out purchases.